HOW TO SET UP AND INSTALL GA4
(GOOGLE ANALYTICS 4)
On July 1st, 2023 Google will stop processing hits to all Universal Analytics accounts. In preparation for this change, they are encouraging the switch to Google Analytics 4 also known as GA4. As they note in their latest article, if you’d like to have year over year data in 2023 it is essential that you install GA4 as soon as possible. Installing GA4 does not mean you have to uninstall your regular Google Analytics code (such as analytics.js or gtag), but rather have both running so as you are learning GA4 you still have Universal Analytics data to fall back on.
How do I set up and install GA4 on my website?
We’re so glad you asked! There are different ways to install GA4, but the set-up process is the same for all platforms.
First, let’s begin with the set-up of your new GA4 account. You begin this process by logging into your current Universal Analytics account, and clicking the “Admin” wheel icon in the bottom left-hand corner. Please note that you must be an administrator at the account-level for this set-up process to work. In the “Admin” section click the blue “+ Create Property” button in the middle section of your screen. After you click that button, a “Property Set-Up” section will appear. You can name your new GA4 property here and fill out the questions that Google Analytics asks you such as time zone, industry, company size, and what you intend to use the platform for.
This process can be seen in the GIF below:

Once you have completed this, you are now ready to install GA4. The first step is to choose which platform you want to create your GA4 data stream for, in most cases you will need to choose “web” as you are making this for your website. This is unless you are setting up GA4 for an Android or iOS app in which case you’d choose one of those options. After choosing the “web” option, you’ll need to type in the name of your website, the website domain name, and then click “create stream.”
This process can be seen in the GIF below:
Once the stream has been created you can now install the code on your website either by installing the code on every page on your website or through Google Tag Manager (preferred). Decide which of these options makes the most sense for your organization, and follow the methods below based on your decision.
Install GA4 Directly on your Website
- Note which website platform you are using such as WordPress, Squarespace, Shopify, Magento, Weebly, or other platforms.
- Once you know what website platform you are using, follow Google’s instructions based on your platform using this GA4 set-up document.
- Every website platform has different instructions, in some cases you will have to manually add your entire Google Analytics page tag to your website using your CMS’s custom HTML feature, and in other cases you can add the GA4 code using just your GA4 Measurement ID.
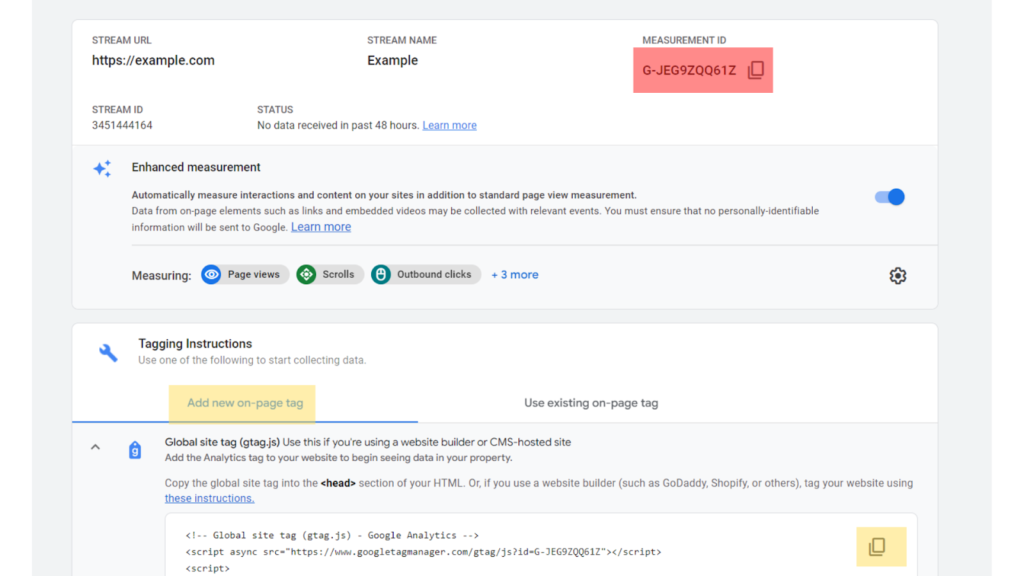
- Now that you know which instructions to follow, you can access your entire GA4 page tag by clicking “Global site tag” under the “Add new on-page tag” section in GA4 as the screenshot below shows in the yellow highlight.
- Alternatively, if your website platform supports the GA-4 measurement ID you can copy it by clicking on the “Measurement ID” option as the red highlight shows in the screenshot below.
Install GA4 Through Google Tag Manager
- Log into your Google Tag Manager account that is already installed on your website. If you do not have Google Tag Manager installed, follow the steps to install and set-up your account.
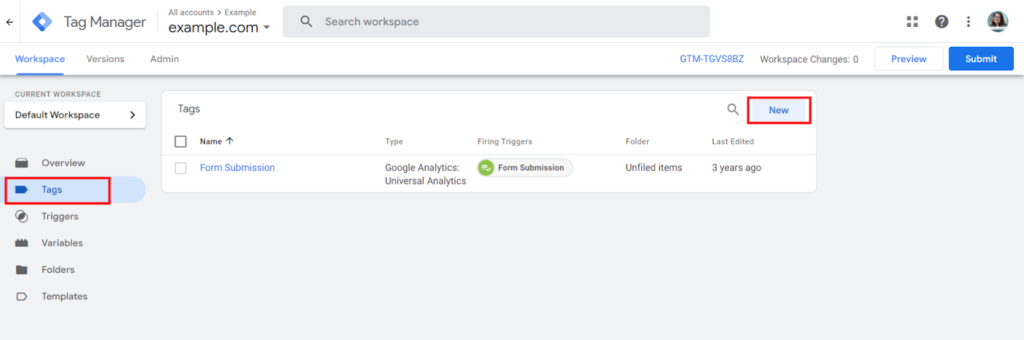
- Once you have access to your Google Tag Manager account, click the “Tags” option on the left-hand side of your screen. Then click “New” in the top right corner (screenshot below).
- After clicking “New” you’ll click on the “Tag Configuration” section then choose “Google Analytics: GA4 Configuration” on the right-hand side of your screen. Paste your measurement ID from Google Analytics in the “Measurement ID” section (this measurement ID can be found in GA4 during your set-up process).
- For the trigger section, you will click there and choose “All pageviews” for the trigger. Name your tag and then click “Save” in the top right corner.
- Once that is done, you’ll just need to publish your container by clicking “Publish” in the top right corner of the screen.
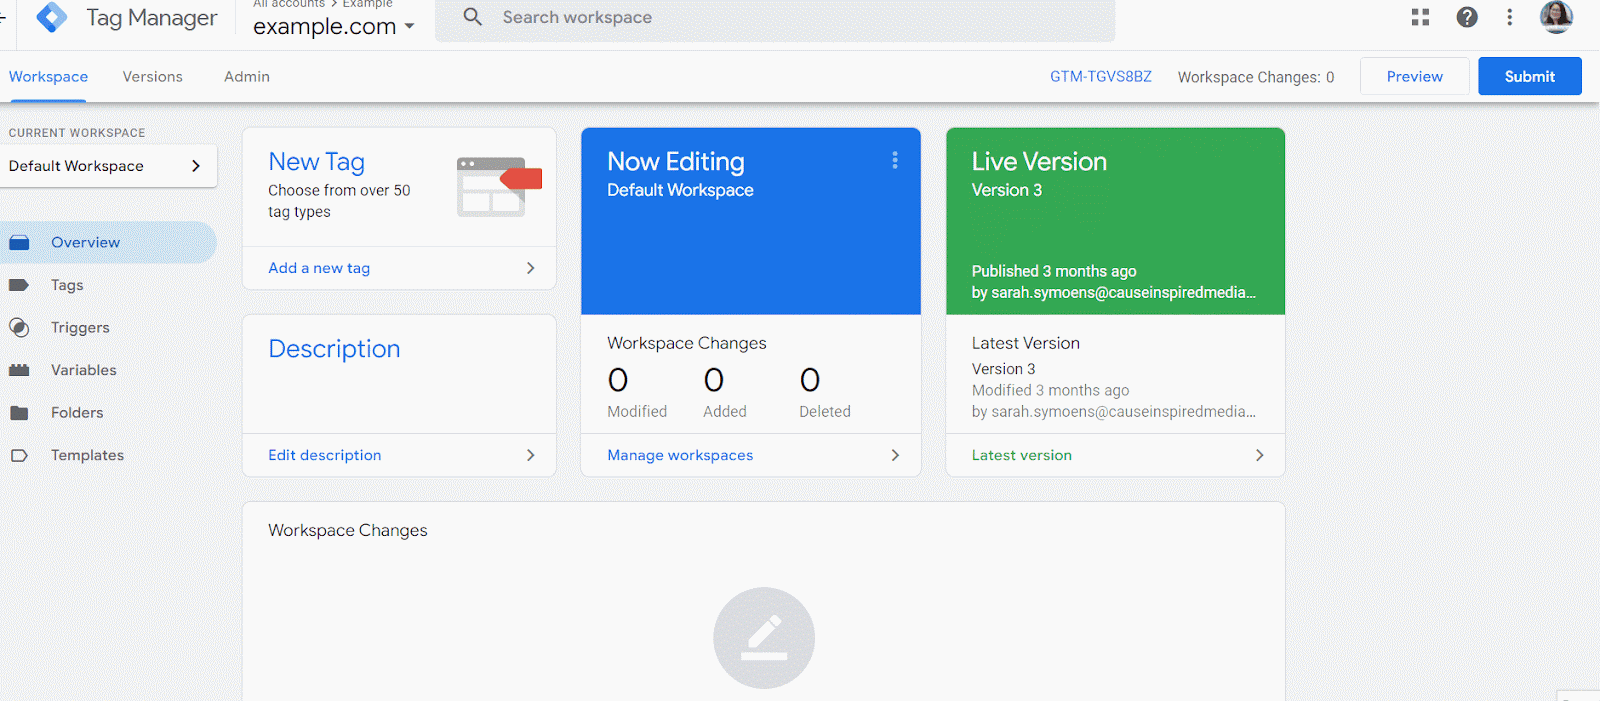
Here is a GIF outlining these steps in Google Tag Manager:
This completes our guide to setting-up and installing GA4.
If you’re a Cause Inspired client, we’ll help you along the way to keep your Google Ad Grant Account active and in compliance throughout the transition to GA4. Feel free to reach out to your Digital Strategist with any questions on what that will look like for your organization.
We’ll host a webinar on this subject in August so you can have all the information you need for a smooth transition.
Have more questions? Contact our team here to learn how we might be able to help you during this process.